Delegate approvals to someone else
Sometimes you need someone else to handle your approvals while you are out (vacation, conference, sick day). Delegation routes your approvals to a chosen colleague for a specific date range.
Delegations are tied to your employee record in Mod AI, not just to your user account. If you open the Delegations page and see Employee Record Required, your administrator has not linked your account to an employee yet. Ask your admin to create or link the employee record before you set up a delegation. See Linking employees to users.
What delegation does
While the delegation is active, every approval that would normally route to you goes to your delegate. They can approve or reject on your behalf. When the delegation ends, approvals route to you again.
Where to find delegations
Delegations live under My Settings → Delegations inside Settings. To get there, click your avatar in the top-right corner of any page, then click Settings in the menu that opens. In the Settings left-hand nav, the top tier is My Settings; click Delegations under it. From there you can see your active, upcoming, and past delegations.
Create a delegation
- Click your avatar in the top-right corner of any page. The avatar overlay menu opens directly below it. Click Settings in the menu. The Settings page loads.
- In the left-hand Settings nav, under the My Settings tier (the top tier), click Delegations. The Delegations page loads in the main content area on the right.
- In the top-right of the Delegations page, click the purple + Add delegation button. The Add delegation dialog opens in the centre of the screen.
- In the dialog's Delegate To field, type the colleague's name. Matches appear in a list under the field as you type. Click the right person; their name appears in the field.
- Below the Delegate To field, fill in the Start Date and End Date fields. The delegation is active from the start of the Start Date through the end of the End Date.
- Click the purple Create Delegation button at the bottom-right of the dialog. A confirmation toast appears, the dialog closes, and the new delegation appears at the top of the Delegations list.
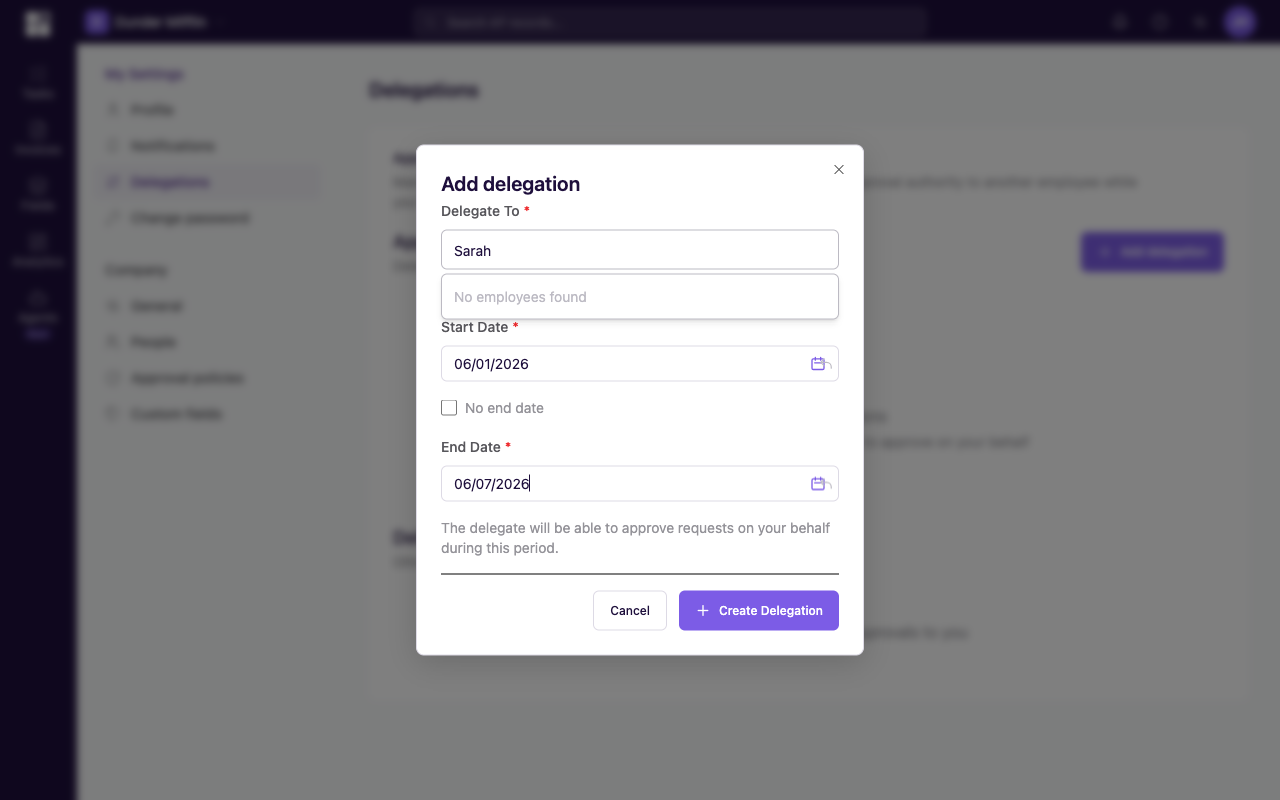
Add Delegation dialog with Sarah typed in Delegate To, a one-week date range filled in, and a purple Create Delegation button at the bottom-right.
Set up delegation a day before you leave. That gives you a chance to confirm it is working and your delegate knows to expect approvals.
Delegation rules
The system enforces a few rules to keep delegations simple.
Single-level only
Your delegate cannot delegate further. If you delegate to Sarah, Sarah handles your approvals herself.
No circular delegations
You cannot delegate to someone who has already delegated to you. That prevents loops.
One active delegation at a time
You can have one active delegation. To change delegate or dates, edit or cancel the existing one first.
Only the delegator or an admin can create or cancel delegations. You cannot create one on behalf of another user unless you have admin access.
What your delegate sees
During the delegation period, your delegate sees your pending approvals in their own list. The documents are marked as delegated so it is clear they are approving on your behalf.
Your delegate has the same approval and rejection capabilities you would have. They can approve to advance the chain, or reject with a reason.
Manage existing delegations
View
Open the Delegations tab to see active and upcoming delegations. Each row shows delegate, date range, and status.
Edit
- On the Delegations list, click anywhere on the row of the delegation you want to change. The Edit Delegation dialog opens in the centre of the screen with the existing values pre-filled.
- Update the delegate or dates as needed.
- Click the primary save button at the bottom-right of the dialog. A confirmation toast appears in the bottom-right reading Delegation updated.
Cancel early
If you return earlier than expected:
- On the Delegations list, find the active delegation (it has a green Active badge in the Status column). Click anywhere on its row to open the Edit Delegation dialog.
- At the bottom-left of the dialog, click the red Cancel Delegation button.
- A confirmation dialog opens reading End this delegation now?. Click the red End delegation button at the bottom-right to confirm.
Approvals stop routing to your delegate and return to you immediately. The delegation moves to the Past section of the Delegations list.