Match invoices to POs and receipts
Matching links an invoice to its purchase order and receipt. It verifies that the purchase was authorized and that goods or services were received before you pay.

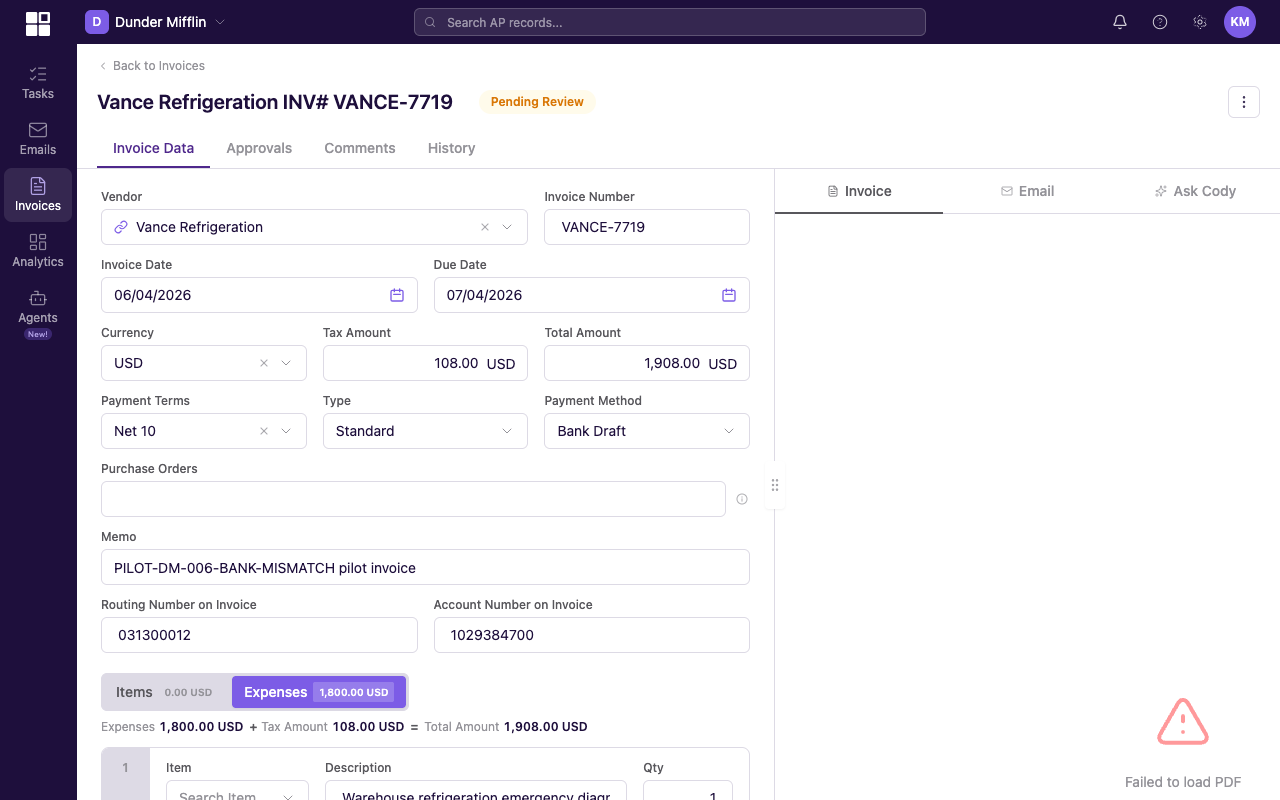
Invoice detail page showing the Purchase Orders field, extracted invoice data, and expense coding rows used during matching review.
Why matching matters
Without matching you are exposed to risk:
- Unauthorized purchases: an invoice arrives for something nobody ordered.
- Price discrepancies: a vendor charges more than the agreed PO amount.
- Quantity mismatches: a vendor bills for 100 units but 80 were received.
Matching catches these before payment.
Types of matching
Two-way (invoice to PO)
Two-way matching links an invoice to a PO and confirms:
- The invoice vendor matches the PO vendor.
- Invoice totals align with PO totals.
- Line items correspond to items on the PO.
This confirms the purchase was authorized.
Three-way (invoice to PO to receipt)
Three-way matching adds a receipt check. On top of the PO checks, it confirms:
- The goods or services were received.
- Received quantities match invoiced quantities.
This confirms the purchase was authorized and that you actually got what you are being billed for.

Four-way (invoice, PO, receipt, item master)
Where your ERP maintains an item master with pricing, the agent also reconciles invoice line items against the master record. This adds a fourth leg to the comparison for matching purposes, though the Price Change Detected notice itself is driven by invoice-to-invoice comparison (last approved invoice for the same vendor and item), not by the item master:
- Unit prices on the invoice line up with the prices recorded on the item master (used for reconciliation, not for the price-change notice).
- Significant deviations from the last approved invoice for the same vendor and item surface a price change detected notice for review.
The reconciliation runs at the line item level, not just at the invoice header, so a single mispriced line on a multi-line invoice is caught even when the header total looks reasonable.
The internal validation rule that runs during processing is named line_item_three_way_match in the platform code. It performs the line-level checks that include the item-master reconciliation. When this guide refers to four-way matching, that is the same flow plus the item-master leg. Note that the price-change notice itself is driven separately by invoice-to-invoice comparison (last approved invoice for the same vendor and item), not by the item-master leg.
Match scores
Mod AI calculates a confidence score for each candidate match. Inputs:
- Vendor match between invoice and PO.
- Amount alignment on totals.
- Line item correspondence on descriptions, quantities, and amounts.
- PO number reference on the invoice.
Higher score means stronger match. The agent lists suggestions ranked by score.
Where match state is visible
On the invoice detail page, match state is surfaced on each line in the Items tab (there is no separate Matching panel — see the Manual matching section below for where match state actually lives). For every line you can see:
- The suggested match (PO and, where applicable, receipt) ranked by confidence.
- The linked PO and receipt records once a match is accepted.
- Per-line match status: matched, partially matched, or unmatched.
Automatic matching
When an invoice processes, the agent searches for matching POs and receipts. A high-confidence match may link automatically. Lower-confidence suggestions show up for your review.
When the agent links a PO automatically, a Match Confirmation dialog pops up so you can confirm the match before proceeding.
Invoices that include PO numbers auto-match much better. If your vendors do not include PO numbers, ask them to. It saves time for everyone.
Manual matching
If the agent does not find the right match, or you need to link to a specific PO or receipt, matching happens per-line inside the Items tab, not in a separate Matching tab.
- Open the invoice detail page from the invoices list. The page opens with the Items tab selected by default.
- In the Items tab, locate the line you want to match. Each line shows the item description, quantity, unit price, plus a row of action buttons including Search item…, Search purchase order…, Search Line Item/Purchase Order…, Search cost center…, Search project…, and Add Receipt.
- To match the line to a specific PO, click Search purchase order…. A search popover opens. To match the line to a specific PO line (more precise), click Search Line Item/Purchase Order… instead.
- In the popover's search field, type a PO number, vendor name, or amount. Candidates appear below the search field as you type.
- Click the candidate row to apply the match. The popover closes and the matched PO (or PO line) is now shown on the line in the Items tab.

Items tab on an invoice detail page showing multiple line items, each with a row of per-line action buttons including Search item, Search purchase order, Search Line Item/Purchase Order, Search cost center, Search project.
PO search popover open under a Search purchase order button on a line item, with a search field and candidate POs visible.
Earlier versions of this documentation described a "Matching" tab on the invoice detail page. There is no separate Matching tab in the current platform — matching always happens per-line in the Items tab.
Unmatching
If a line was matched to the wrong PO or receipt:
- Open the invoice detail page from the invoices list.
- In the Items tab, locate the line whose match you want to remove.
- Click the Search purchase order… or Search Line Item/Purchase Order… button on that line. The popover opens with the current match highlighted.
- Click the small × icon next to the current match (or pick a different candidate). The line returns to unmatched.
When no match is found
If no PO matches, the three-way match rule fails and the invoice surfaces a validation failure notice. Decide how to proceed: create a PO, waive the requirement via rule-severity override, or investigate further.
Toggle matching per entity
Matching can be enabled or disabled per entity in your settings. If your organization does not use purchase orders, turn matching off for that entity.
Go to Settings → Entities → (select entity) → Features. See Entity Features.